10 Steps to Starting A Business: My Process, Pt 2
Filed in: Business — March 31, 2024

back to blog


Back like we never left! Ready to keep reading about the last 5 steps I took to start my business? Well let’s get to it.
As a refresher, these are the steps I took to start my business:
- Learned graphic design skills
- Identified my brand and business name
- Secured domain names
- Created the brand elements
- Created my website
- Became more active on social media
- Applied for my LLC
- Set up client systems
- Started creating mock designs and blog content
- Officially opened to clients 🍾
If you’re here confused, you must not have read part 1 yet silly! Or you like to do things backwards, and that’s cool too. Check out part 1 here, then come back for the rest of the goods.
Step 6 – #BackOnTheGram
So I left off talking about how I decided to reinvigorate my old Instagram account while I was in the process of fine-tuning my website. I figured it would be a fun way to document the journey, while also gaining some new followers and drumming up interest in what I was doing. This old account started off as my original IG account from back in 2011.. did I just date myself? Anyway, it’s been reinvented not once, not twice, but thrice now 😂 The evolution looks a little something like:
Personal IG → Nursing Account → Design Account
Since the account had some of my older posts still present and I didn’t want to archive them all, I decided to start with only posting on my IG stories. Very general design stuff, glimpses into my daily life flipping between nursing and design – nothing crazy – but this really helped me connect with some great design friends prior to my launch. I didn’t start posting “permanent” content until I was ready for some action. It was a nice transition back into the business IG space and a great way to repurpose an old account that already had a small following.
Step 7 – She’s A Business Owner Y’all!
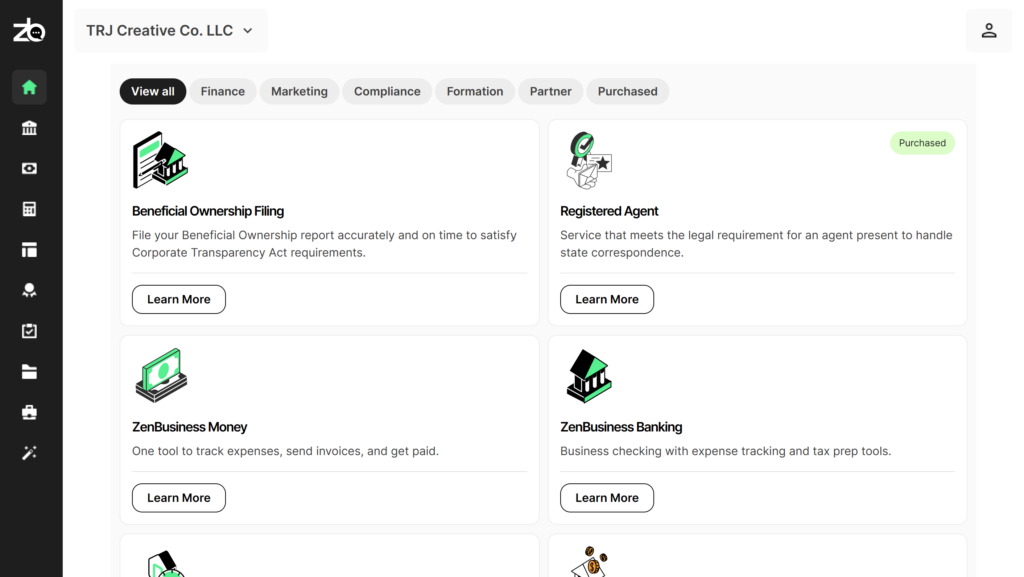
By this point, my website was pretty much ready to roll. I had finished up most of my business research, so it was time to become official! I already discussed how I chose my business names in Part 1. I’m so grateful that both names were still available when it was time to start the business formation process! Now you can definitely submit all required documentation on your own, but I highly recommend using a service if that stuff stresses you out. I ended up using ZenBusiness for my LLC formation, my DBA formation, and as my Registered Agent. They made it really easy to get that stuff done with very little hassle on my part. I did end up doing the paperwork for my EIN on my own, but it’s painfully easy through the IRS website.
A little tip: If you don’t want to use your home address as your business address, consider looking into getting a virtual business office address before you start this process. I ended up using Alliance Virtual Offices, and so far so good!
Do your research and due diligence friends!
Step 8 – Client Systems
Now that my business was officially formed (est. Jan 2024 baby!), I was ready to start getting my client systems and processes in place. I want all of my clients, whether you are the first or last, to feel WELL taken care of. So it was important to me to have a pretty good process laid out before I even started taking clients. I even practiced the entire flow using “mock” clients to really make sure things were running smoothly. Overkill? Probably, but it was worth it to have happy clients and a non-stressful design experience.
Client vs. Project Management Systems
A lot of designers use various platforms like Asana, Dubsado, and HoneyBook. I initially had my eye on a platform called Bonsai well before my business was even formed. After trying Bonsai for a month, I realized that it was not a great fit for me. I ended up going with HoneyBook and really like it! There’s a reason it’s one of the more popular platforms.
HoneyBook is more of a Client/Customer Relationship Manager (CRM) whereas something like Asana is a Project Management (PM) System. A CRM focuses more on the client interaction pieces, while a PM is more task and deadline focused. What I like about HoneyBook is that their automations have been incredible for streamlining my workflow. I also love that I can send clients a proposal, invoice, and contract all in one for example. This isn’t an ad, I just love me some HB.
Now, another great system I use for mostly project (and a little client) management too is one I’ve mentioned before, Notion. Notion is where I started my business dreaming, and man if it isn’t still such a fun platform for me to use. Don’t get me wrong, it’s complex lol, but it allows for a lot of customization which I appreciate. Notion is currently where I house my main Client Portal, and it’s also where I manage all of my business information. What really prompted me to keep using Notion for my business and for my clients was stumbling upon the portal templates from Knotably Creative House. Their Creative Biz Hub and Client Portal Notion templates have SO much detail and included things that I wouldn’t have thought of had I created a portal myself.
If you use any of these platforms, I’d love to know your thoughts so leave me a comment below!
A little tip: Don’t be afraid to outsource y’all! If someone is doing something better than you, AND it’s something you have no interest in doing yourself? Invest in tools and other content that will help you, and support another businesss along the way!
Step 9 – Content Creation
My last step before the big “go-live” was to start getting content made. Believe it or not, this is not something I was looking forward to, nor is it something I enjoy doing to this day. I’m not a content creator, but it’s 21st century marketing so what are you going to do lol. I absolutely sucked at making reels when I first started, but practice truly makes perfect.
Batching Content
One of the good things about slowly becoming more active on IG before going live? I had a lot of time to jot down ideas and batch content before I actually needed it. Batching content basically just means that you create almost the entire post with captions, media, links, etc. ahead of time and save it until you’re actually ready to post. I think I ended up with about 2 months of preplanned content which was such a lifesaver for times when I was sick or didn’t have any ideas at the ready.
Batching content can be a pain, but it’s a lot nicer process if you can get organized prior. I ended up making a content creation calendar in Notion that was really helpful in the beginning. Not only did it serve as a place for me to log my content ideas, but it helped me keep up with where these ideas were in the process from brainstorming to published post. I’m still on the lookout for an app to help with this too, but Notion was a great place to start.
Told you I use Notion for everything 😂
My Secret Content Weapon
Want to know my secret to content? Specifically, IG content? It’s templates. When I was in the middle of writing this post way back when, still trying to get content together, I stumbled upon a page called Your Template Club. They create IG post templates based on the current algorithm and release new templates every. single. month. Check them out, and thank me later 😉
Step 10 – FINALLY LIVE BABY!
After MONTHS of preparation, I was finally ready to go live and open my business to paying clients. I started by making my official post on IG that I was going to be offering a new service, then followed up a few weeks later with an official website launch. In between the IG launch and the actual launch, I started taking a round of “beta” clients. These are essentially the first people to get in on a new offer, and they get it at an AMAZING discount. Keep an eye on my IG for future notices about beta (or alpha as I like to call them) offers for new services I’ll roll out in the future!

Okay my friends, if you stuck with me this long, you’re a real one and deserve a treat! How does another 10% off anything in my shop sound? A steal right?? If you snagged the first code then feel free to stack them both. Just type BIZ2BLOG10 in the discount code section at checkout, and you’ll be good to go! And if you’re reading this before the shop is live? Well, it’s a lifetime code so just keep it somewhere safe 😉
I hope you enjoyed this two-part series and see both the good (and maybe some not so good) in how I brought this business to fruition. In part one, I said that I wouldn’t do anything differently in this process if I had to do it over again, and that’s true! However, I do think there is a more streamline way to form your business that will still get you to the good stuff. If you want to see that blog, send me your email in the form below so you can get notified when the post is live.
Thanks for sticking around, and see you in the next read!
Enjoy this read? Learn something new? Tell me everything in a comment below! And remember, it takes no effort to be kind 😊
Disclaimer: The information in this post is for entertainment & subjective educational purposes only. It is not meant to serve as business, legal, medical, marketing, or sales advice.
This blog post may contain affiliate links. By purchasing through these links, I may earn a commission at no additional cost to you. I only recommend things that I know, love and actually use. Thanks for supporting me!
Next Post
Previous Post
Leave a Reply